
Launching is the final step in the building process before you share your experience with the world!
Video Tutorial
Step by Step Guide
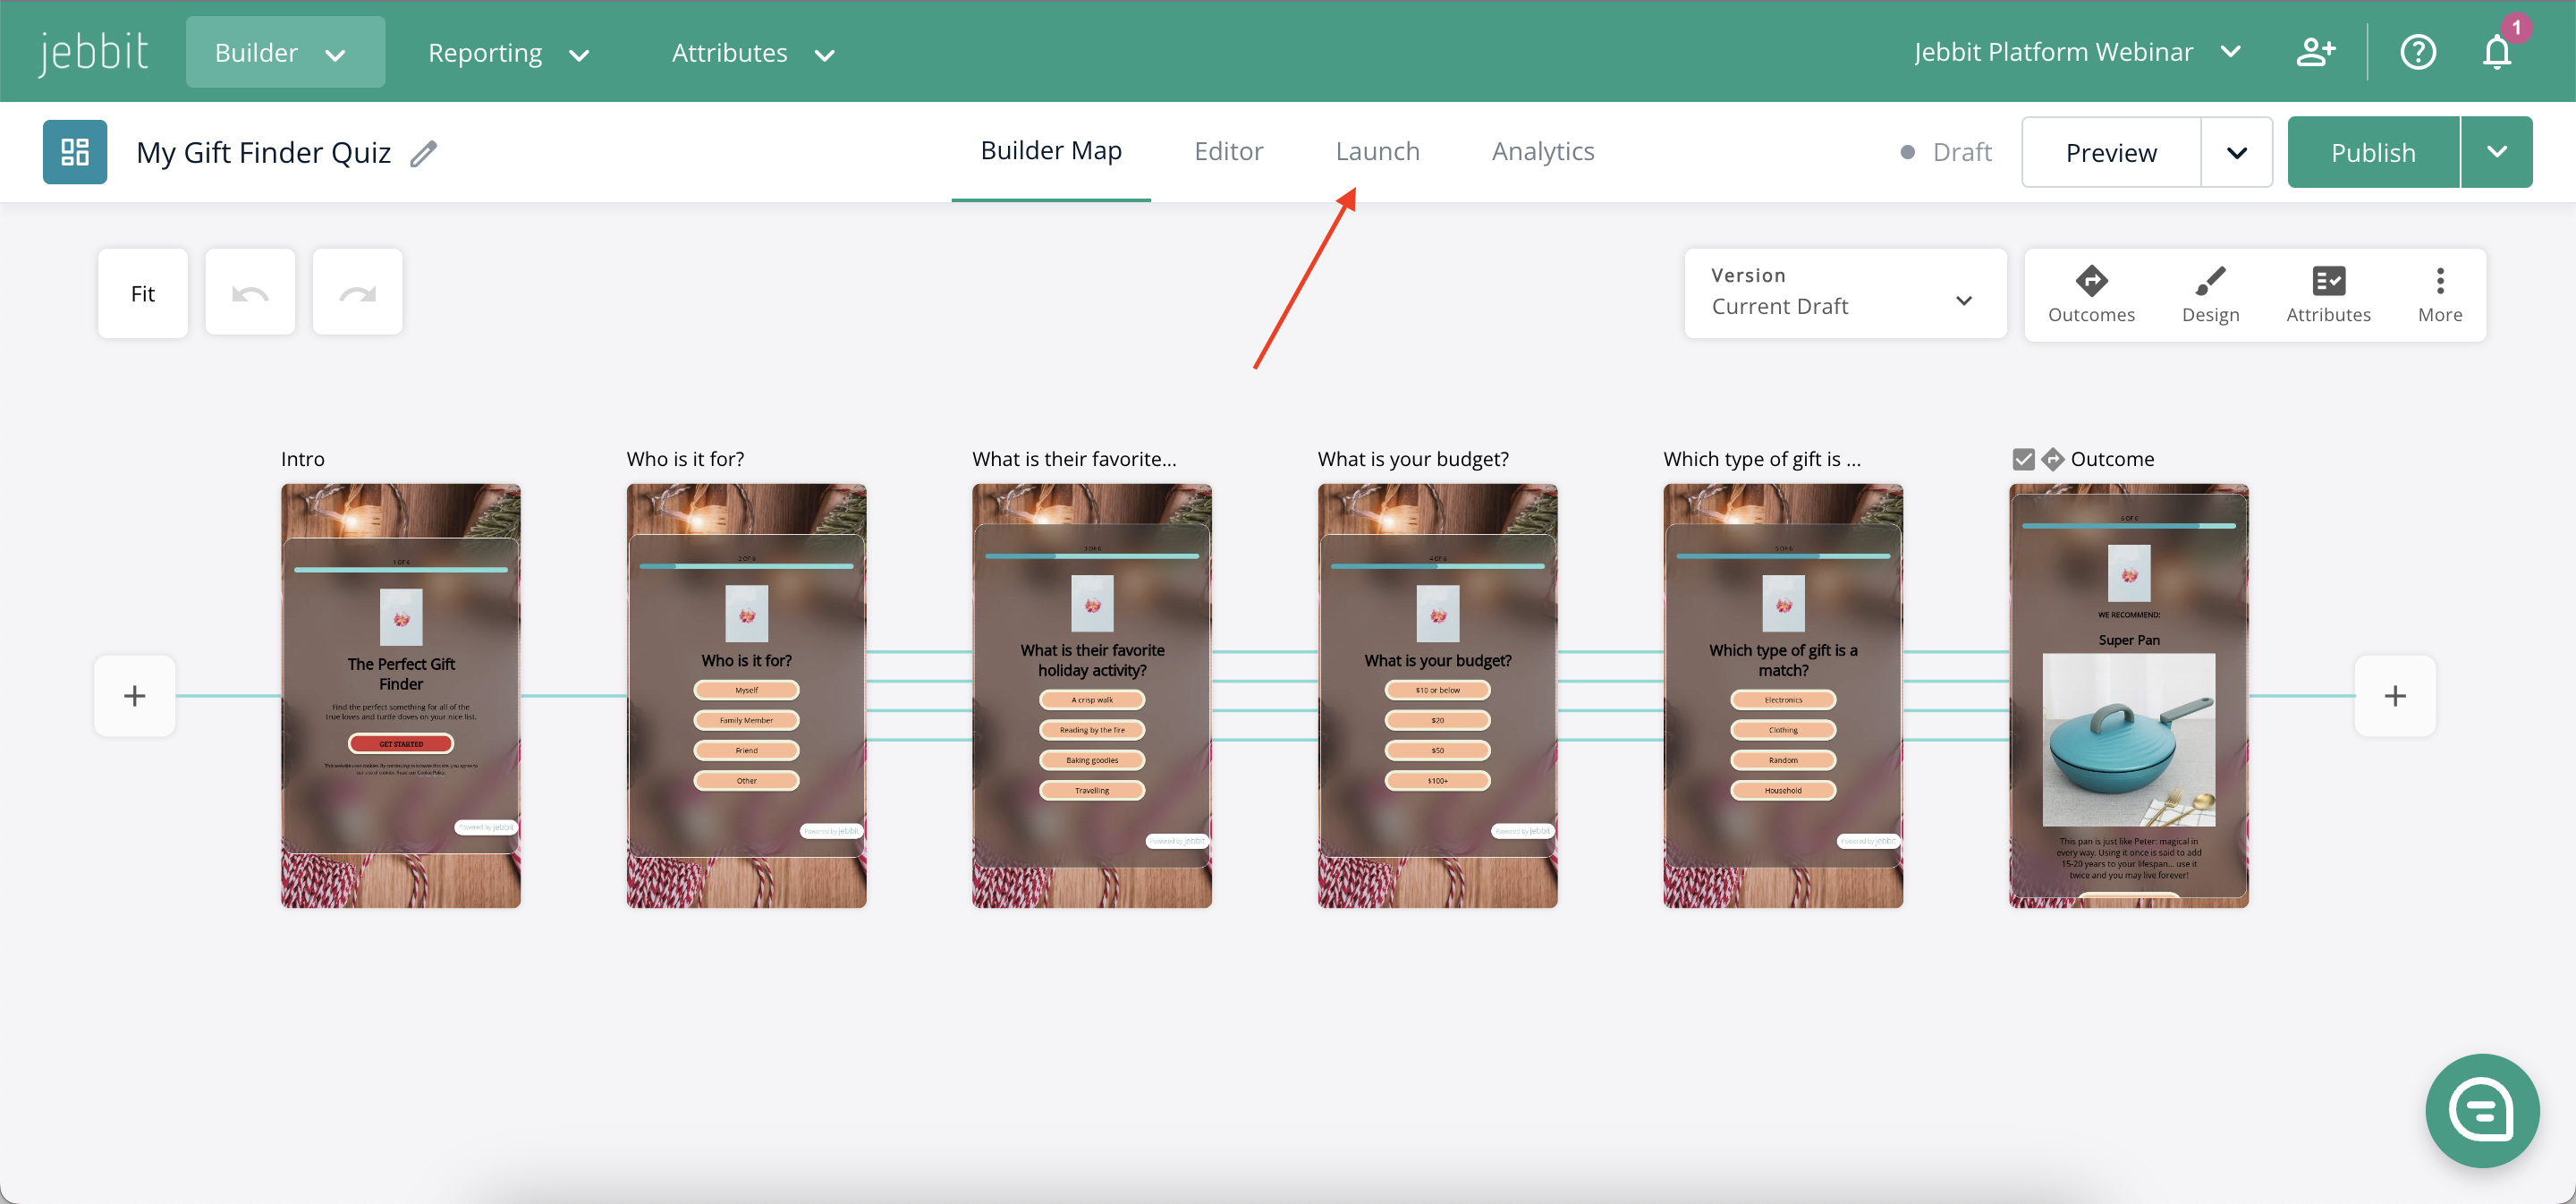
Navigate to the launch menu from the builder map:
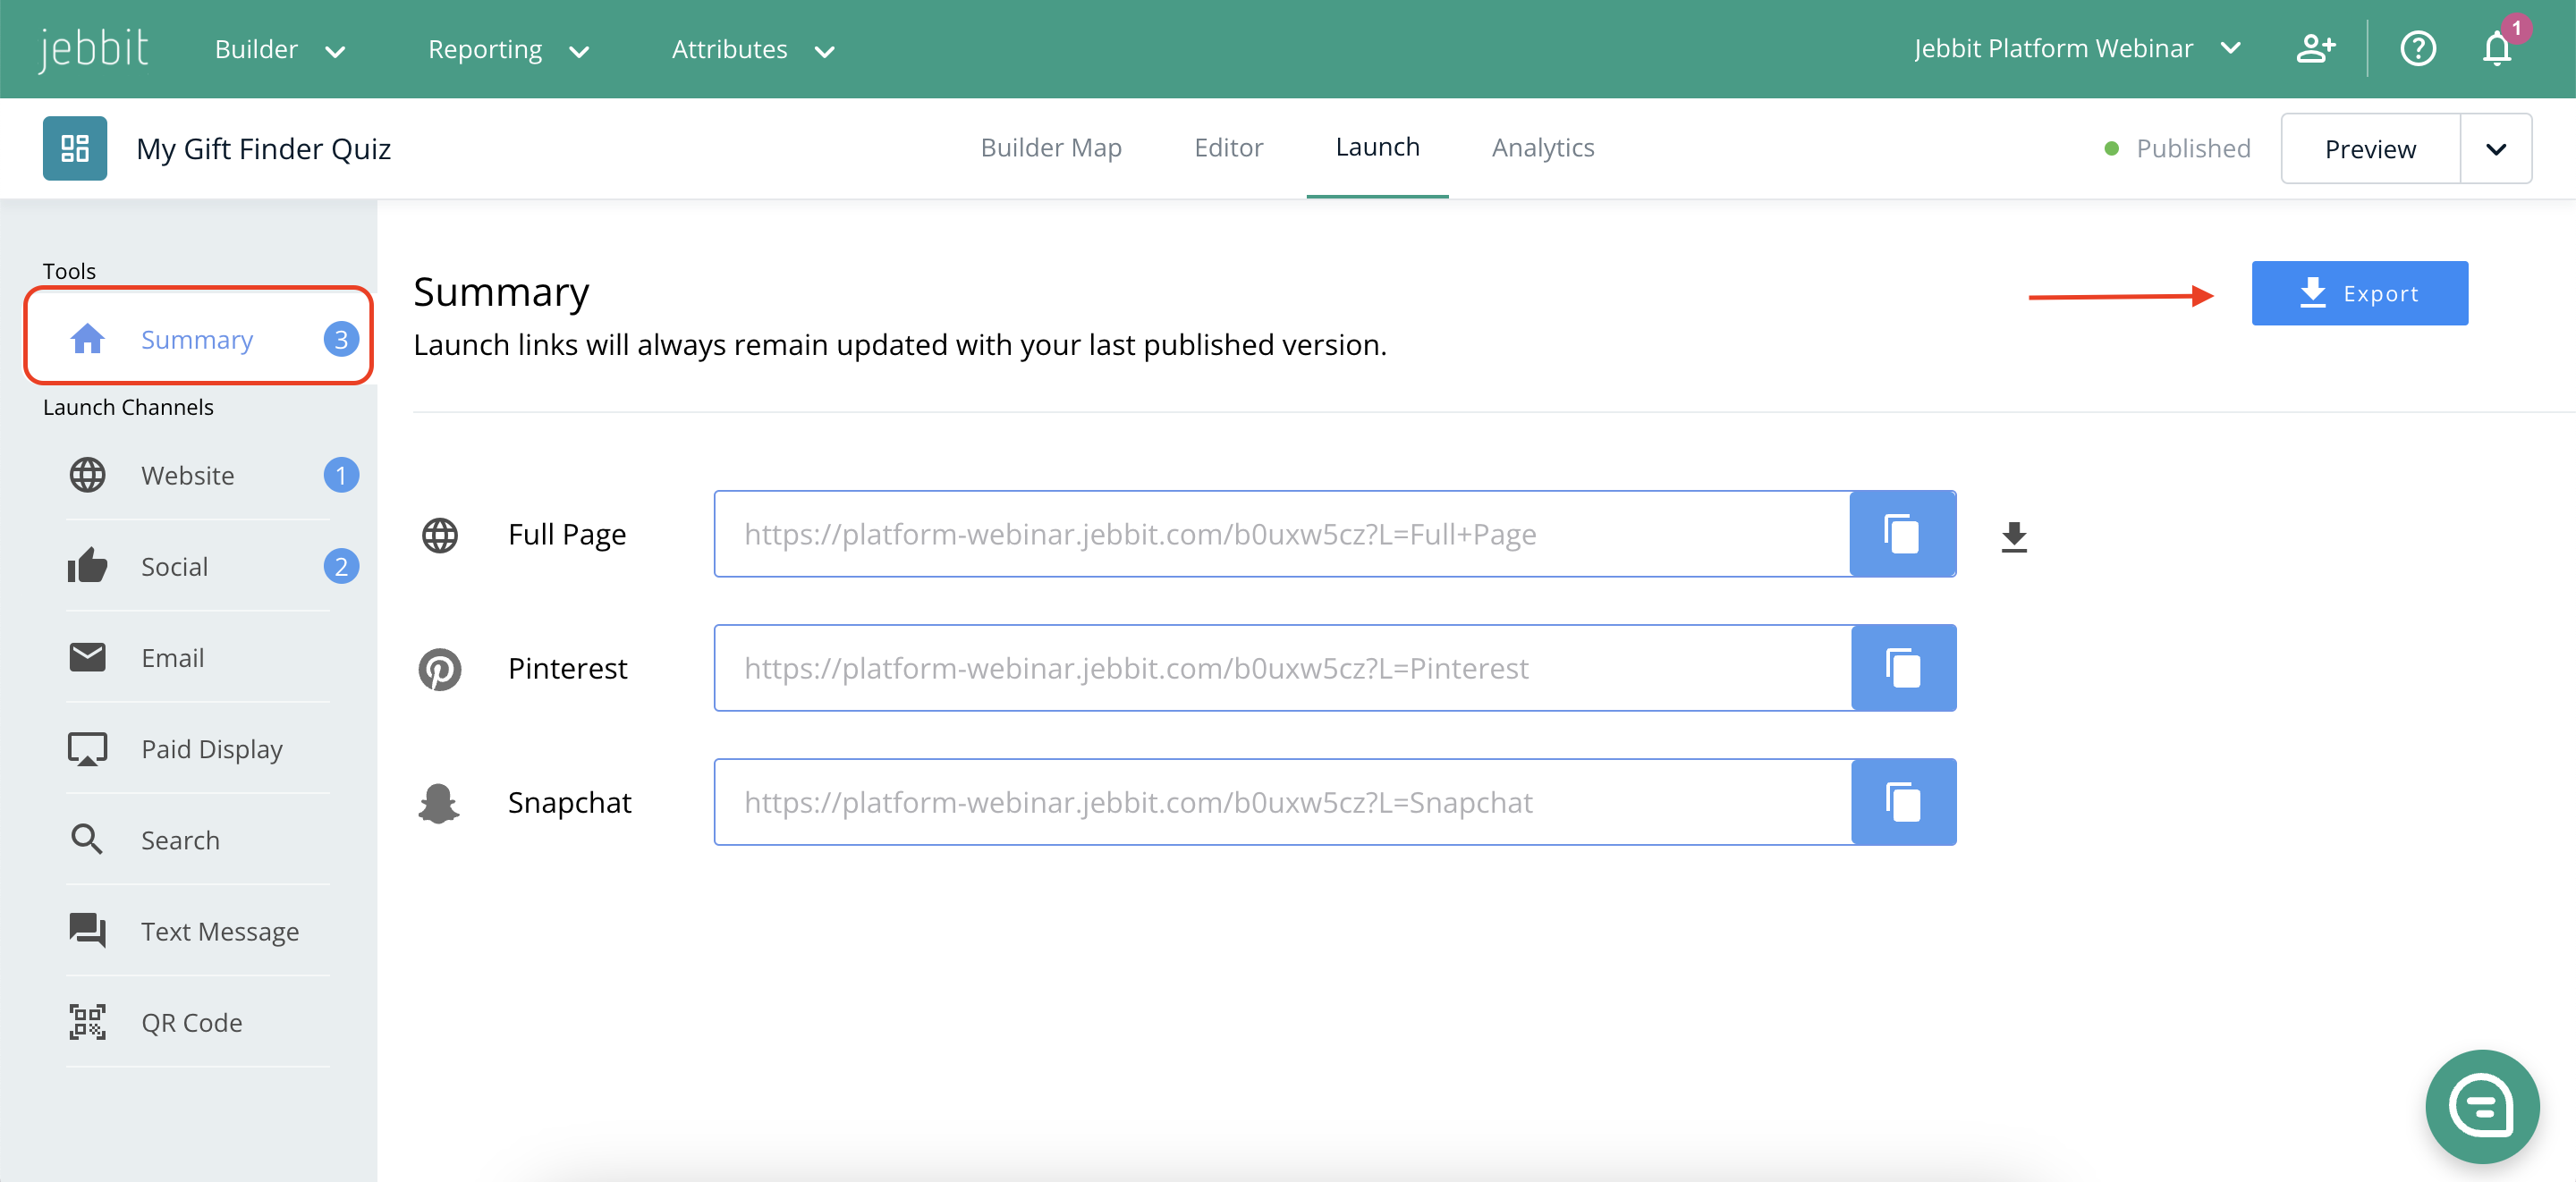
Use the menu on the left to create a launch url under your preferred channel. You should create a unique launch url for every channel that you plan to launch on.

If you’ll be creating a url under the social channel, you’ll just need to click on the social icon to find the option to generate that launch url:

Once you’re done creating all of your urls, you can see them all in a single view on the Summary tab. You can also use the export option in the upper right to download your urls all at once:
Frequently Asked Questions
Q: Can I see the performance of one launch URL over another?
A: Creating unique launch urls for each channel that you will launch on will allow you to use Jebbit's native Channel Analytics dashboard to see which launch URL and associated channel are yielding the most traffic and strongest performances based on your goals.
Q: Do I need to create a new URL every time I publish my experience?
A: You never have to regenerate your launch URLs in between publishing new iterations of your experience. The launch URLs will always reflect what has been most recently published.
Q: Can I add tracking parameters to each launch URL?
A: Yes, you can add custom tracking parameters to your launch urls, but this will be done manually after you copy the URL out of the platform.
Related Articles
Keywords: launching, launch urls, onsite, embed, tracking, channel analytics