Quizbot
Quizbots offer a new way to engage your users in a familiar, texting-like format. You can start a Quizbot experience today from the Template Gallery and you can style Quizbot elements (question bubble, avatar, etc) within Style Guide too.
Video Tutorial
Step-by-Step Guide: Immersive Quizbot
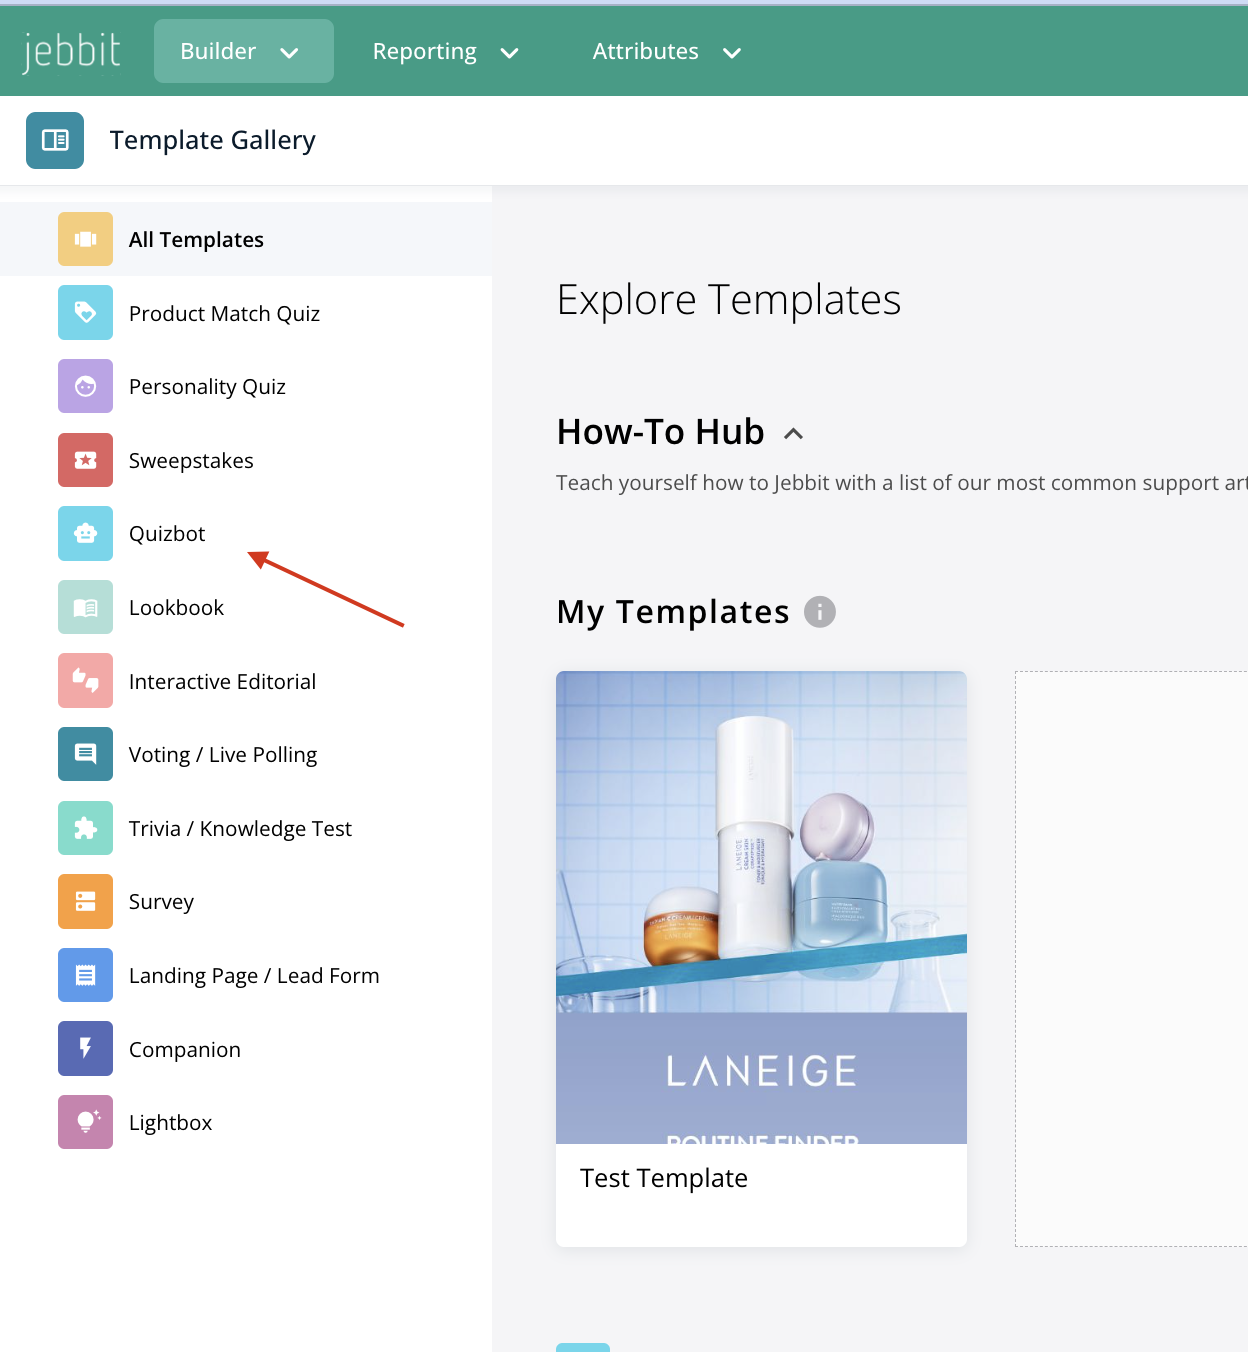
Head to the Template Gallery within the main nav Builder dropdown menu and select a 'Quizbot' template.
You can apply an already created Style Guide or once in the Builder, head to the Style Guide to set your background and stylings.
Click on any screen to update your text.
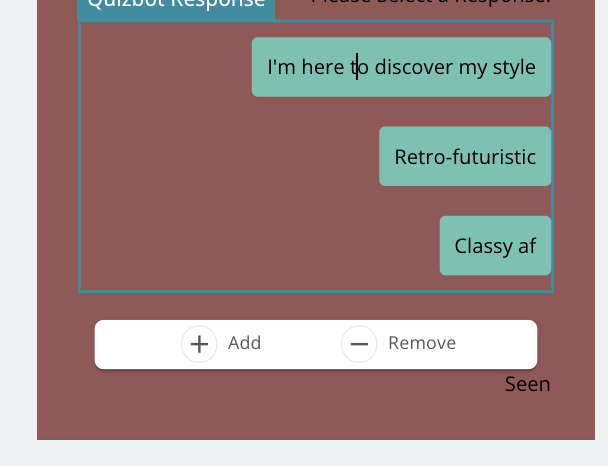
To add/remove question or response bubbles, click on the bubble itself and then use the add/remove toolbar that appears below it.
There are 3 default options that you can choose to turn off/on: to see this list, click into the chatbot area in the Editor, without clicking on a specific element (specific elements include question/response bubbles, avatar, typing dots)
Show Avatar: the image that sits above the question bubble
Show Text Above Response: the text that lives above the response bubbles
Show Currently Typing Dots: the dots that simulate the Quizbot is typing
**Note: to see this list, click into the chatbot area in the Editor, without clicking on a specific element (specific elements include question/response bubbles, avatar, typing dots)
Step-by-Step Guide: Quizbot Companion
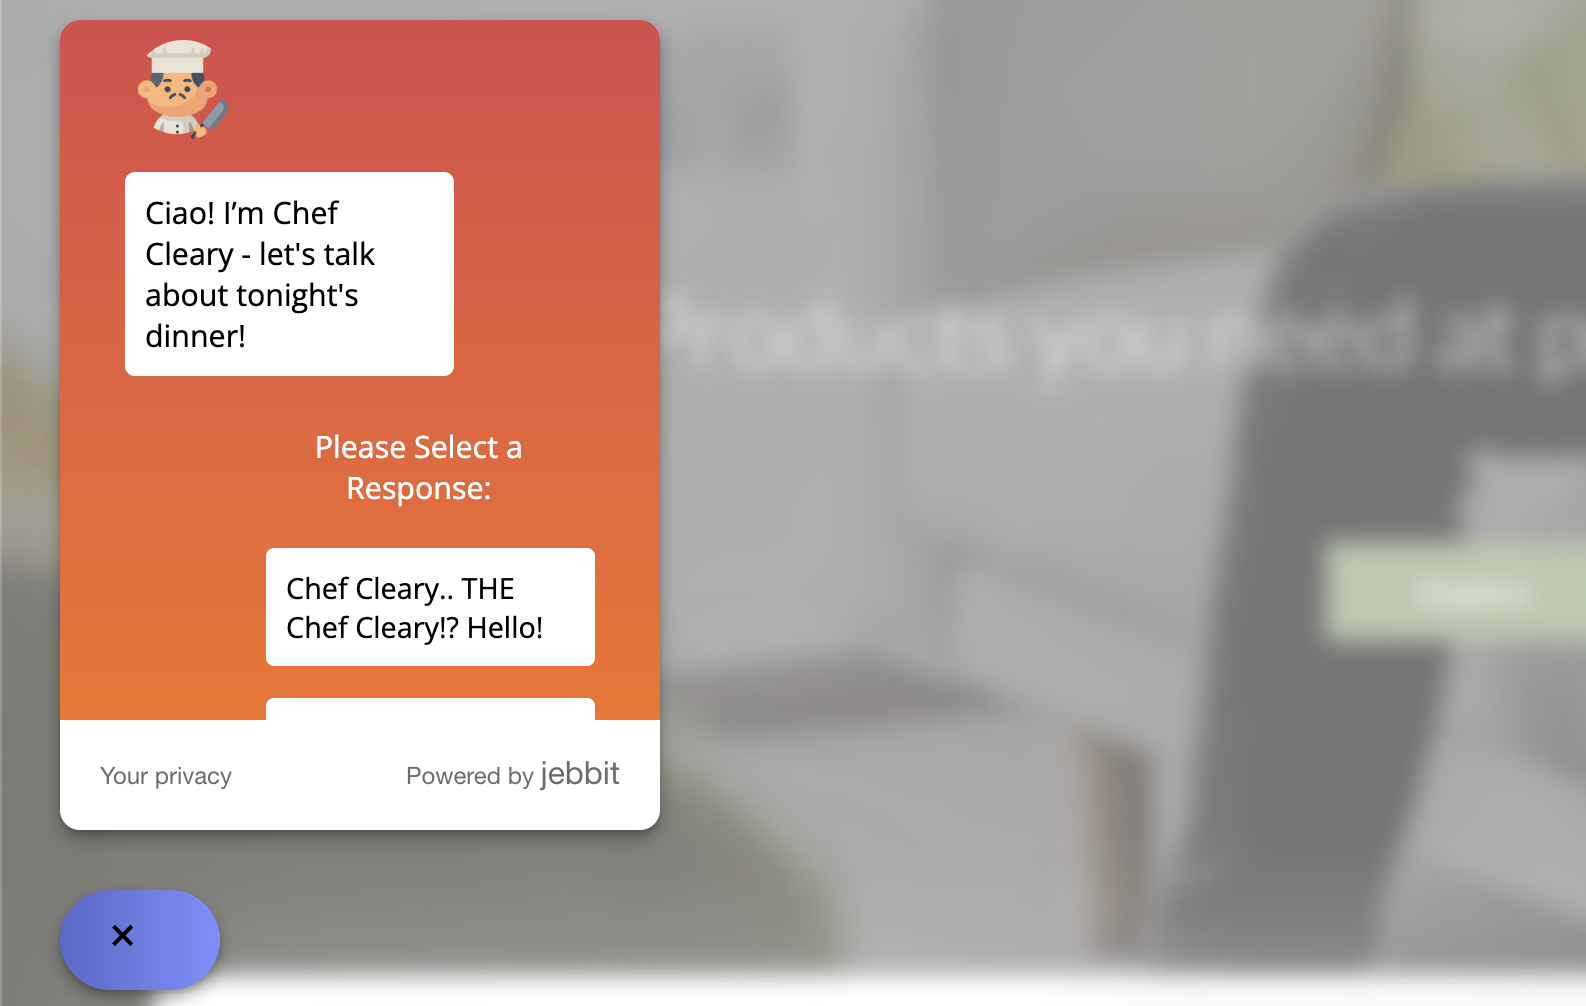
Quizbots are commonly used within Companion units, to help users navigate your site or collect lead capture info!
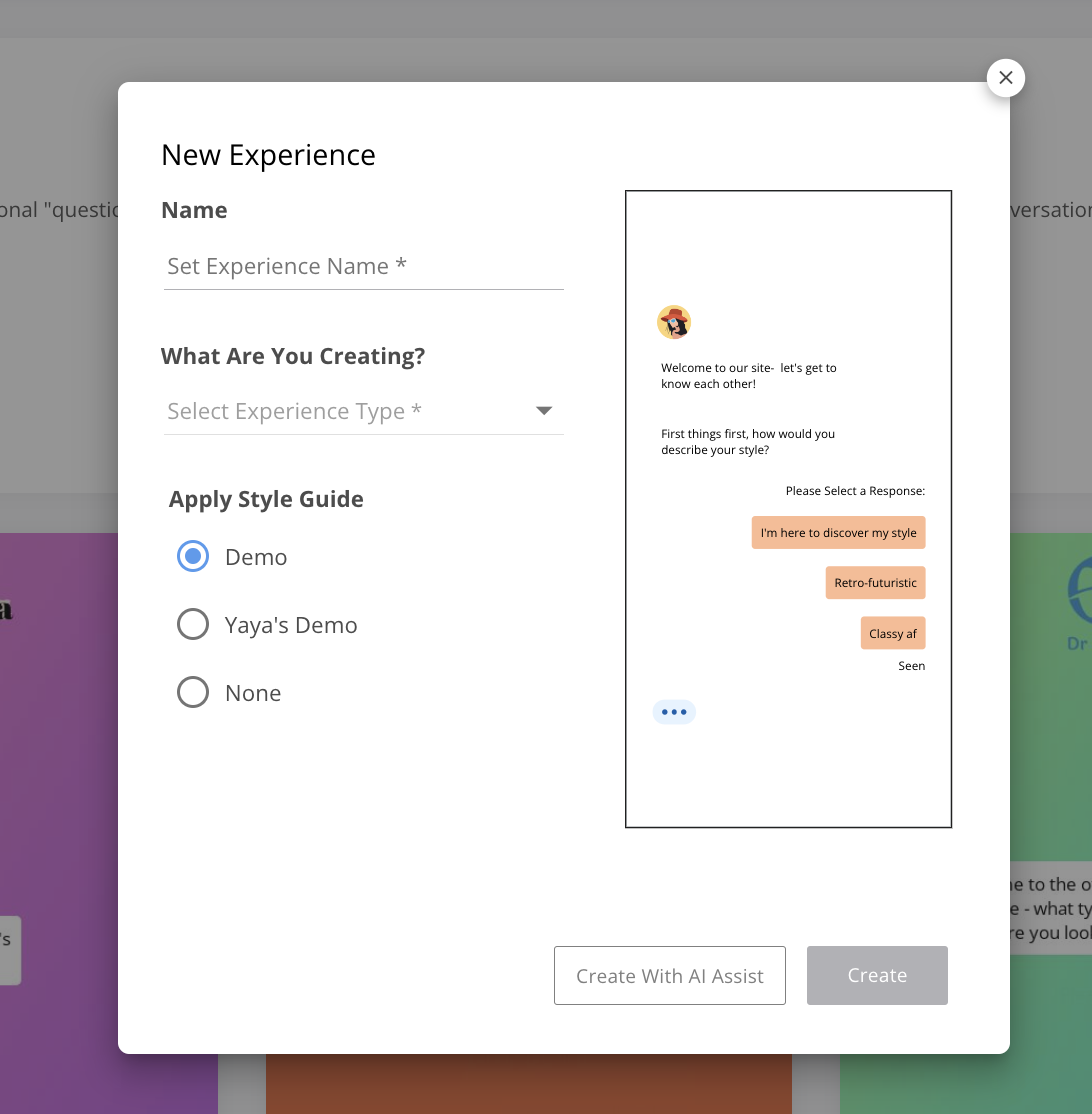
Create a Quizbot experience in the Template Gallery, using a Quizbot template
In the Builder map, select the 'More' dropdown in the toolbar.
Select 'Make a copy'
Under the 'Copy Experience To:' section, select 'Lightbox'
From here, you should begin editing your experience! Pro Tip: it is helpful to not begin editing/designing your quizbot until it is in the Companion format - this will allow you to more accurately design the quizbot for the specific Companion size!
Related Articles
Keywords: quizbot, companion, lightbox, chat experience
