
Shopify Contacts Integration
Leveraging the zero-party data you collect in your Jebbit experiences to enrich your CRM, personalize your content and run email triggers is a very effective way to activate your data. Running a Jebbit experience and sending contact and attribute data back into Shopify has never been easier.
Step by Step Guide
Navigate to the Integrations page
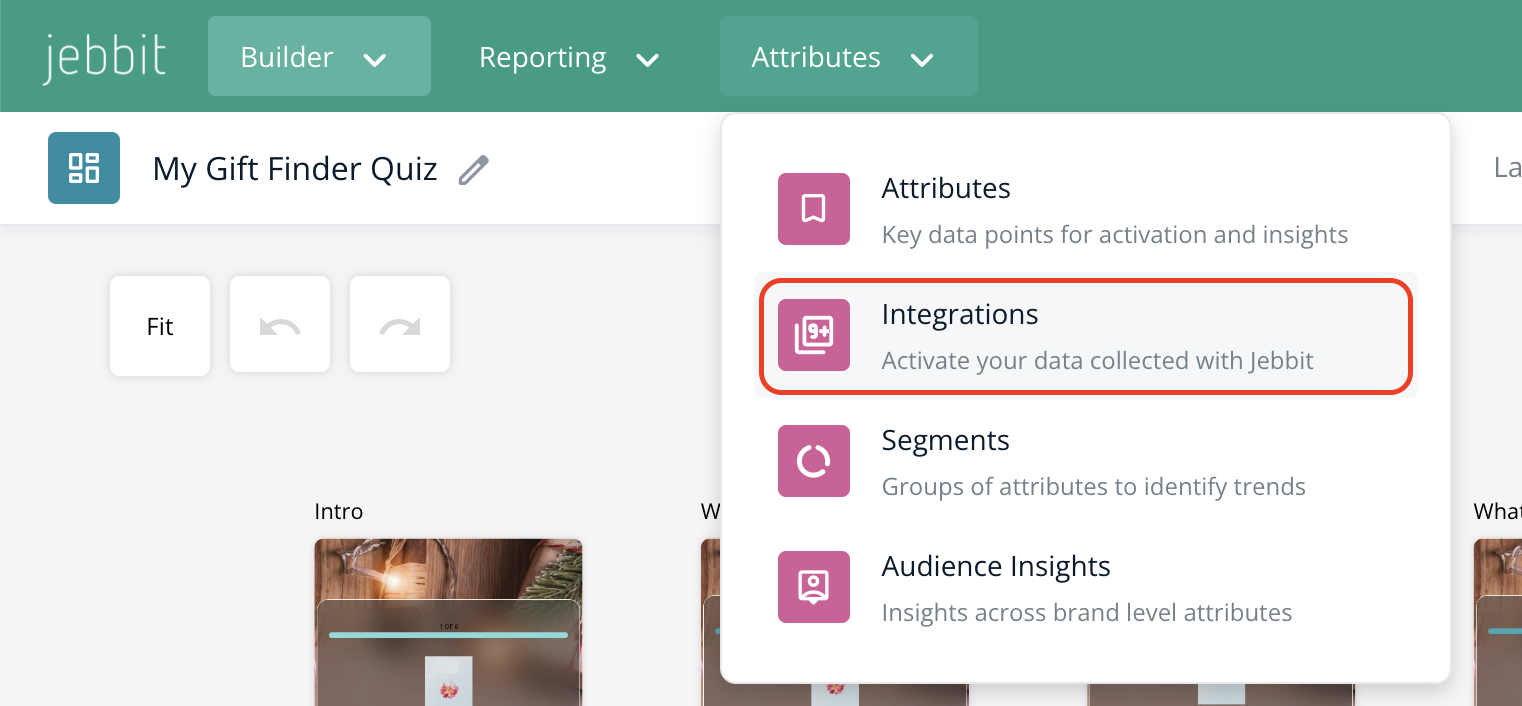
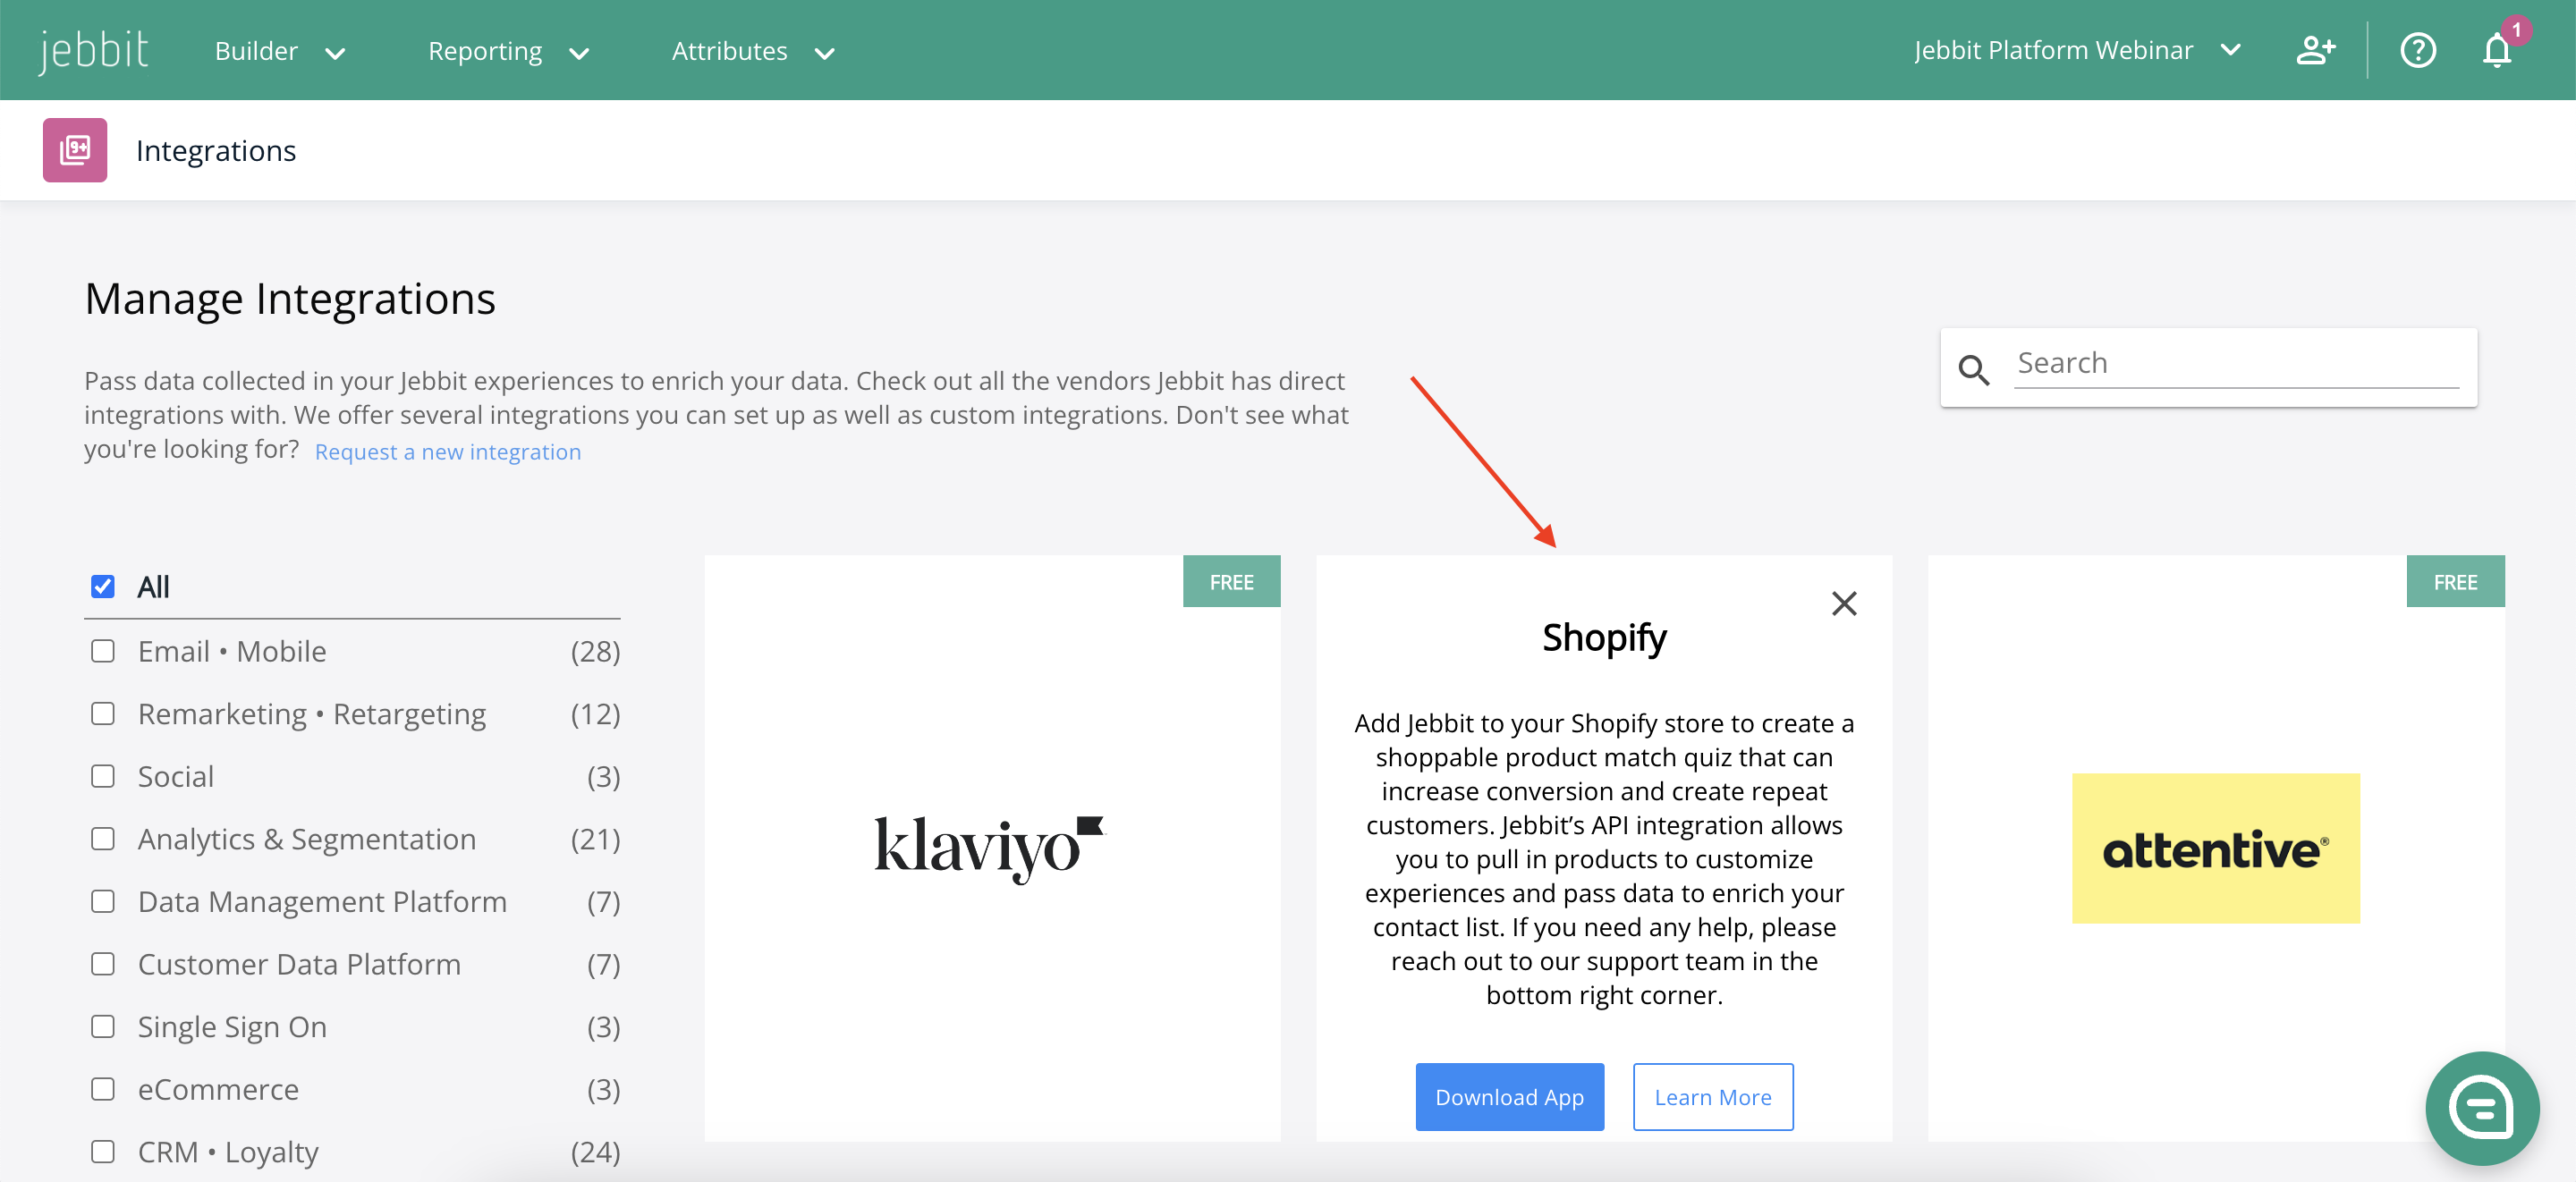
Click on the Shopify Integration
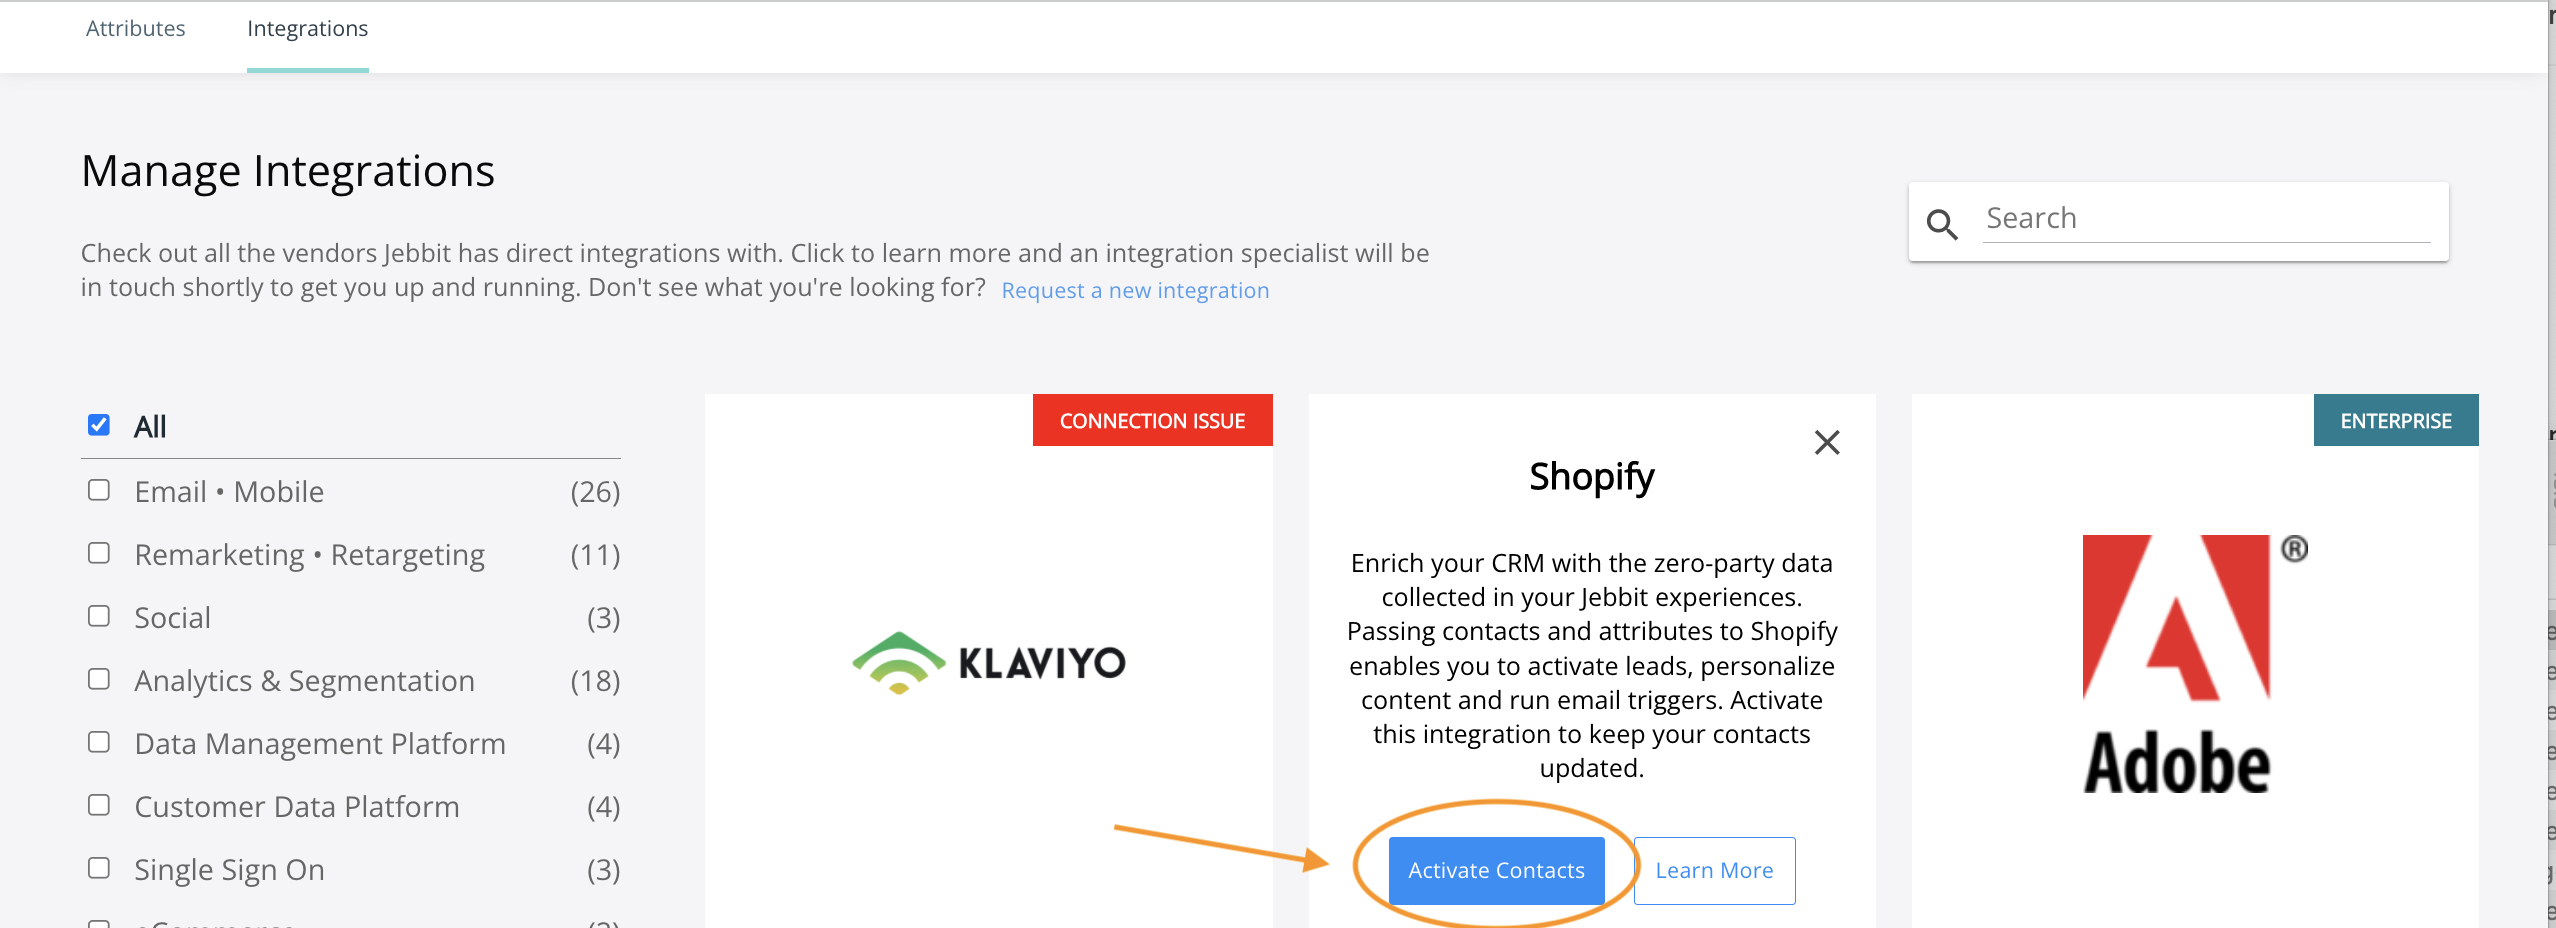
Select 'Activate Contacts.' You will need to have accepted the Customer Scope when downloading the Jebbit app. If you have not, then you will be redirected to Shopify to accept the Customer Scope and then returned to Jebbit to complete the Integration.
Select 'Activate Integration' and you are all set with the account level set up! You still need to map attributes in Jebbit and approve meta fields in Shopify, so keep reading.

To ensure that data is passed into Shopify at the experience level, you need to map at least one of the following fields:
Email
First/Last Name
Customer ID (The customer ID must be passed as a URL parameter into the Jebbit launch link appended to the 'uid' parameter to work. Learn more here).
If you wish to pass additional information for each user then you will also map Attributes onto your experience. Learn more about mapping attributes here.
Once the data arrives in Shopify, you can approve the meta fields within Shopify so the data is actionable. Here is a video that shows you how to set this up in Shopify:
Related Articles
Keywords: shopify contacts, integration, meta fields, attributes