
Jebbit offers the ability to track and segment your users by leveraging pixels from third party platforms. This article is specifically written to explain the self-serve UI for data management platform Neustar.
Step by Step Guide
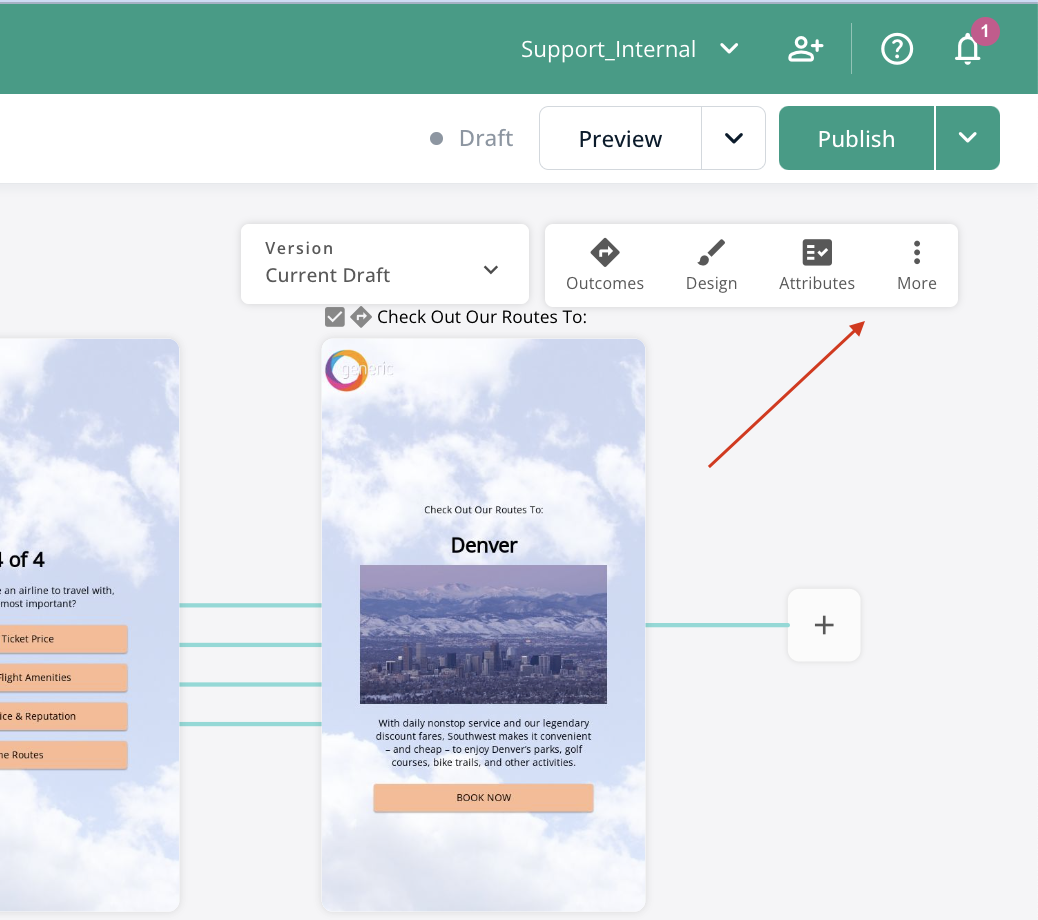
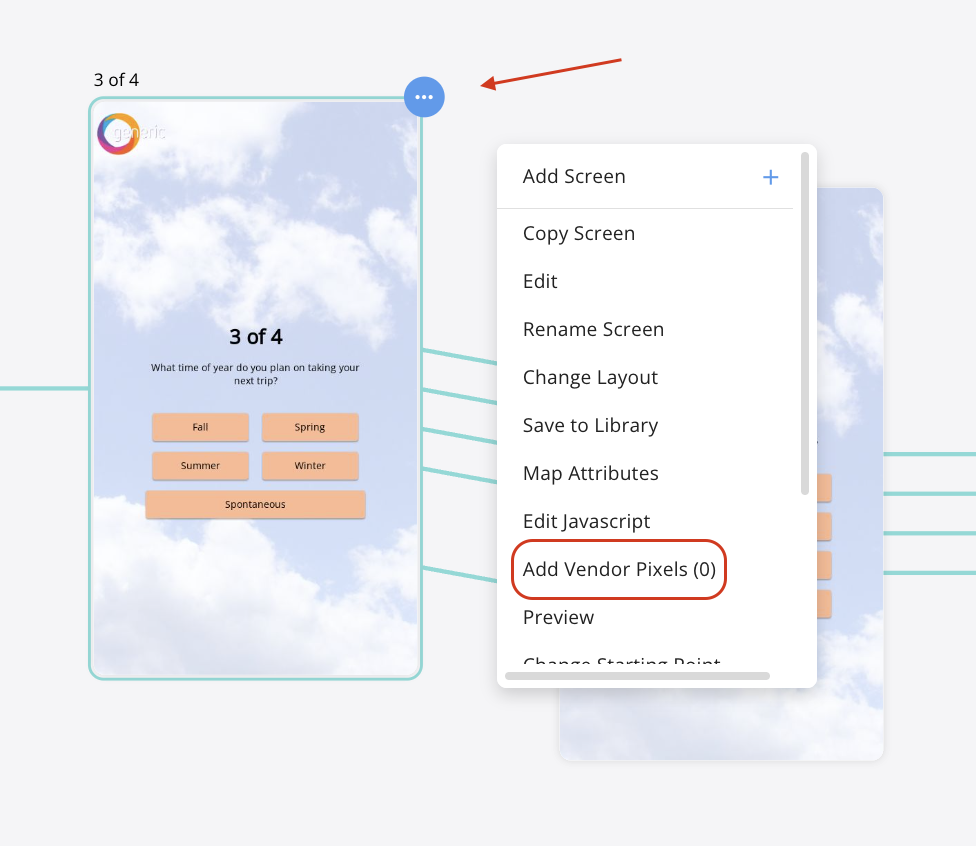
Within the Builder Map you can 'Add vendor Pixels' from the "More" dropdown or you can add it one screen at a time on an individual screen level.
A. Experience Level
B. Screen Level
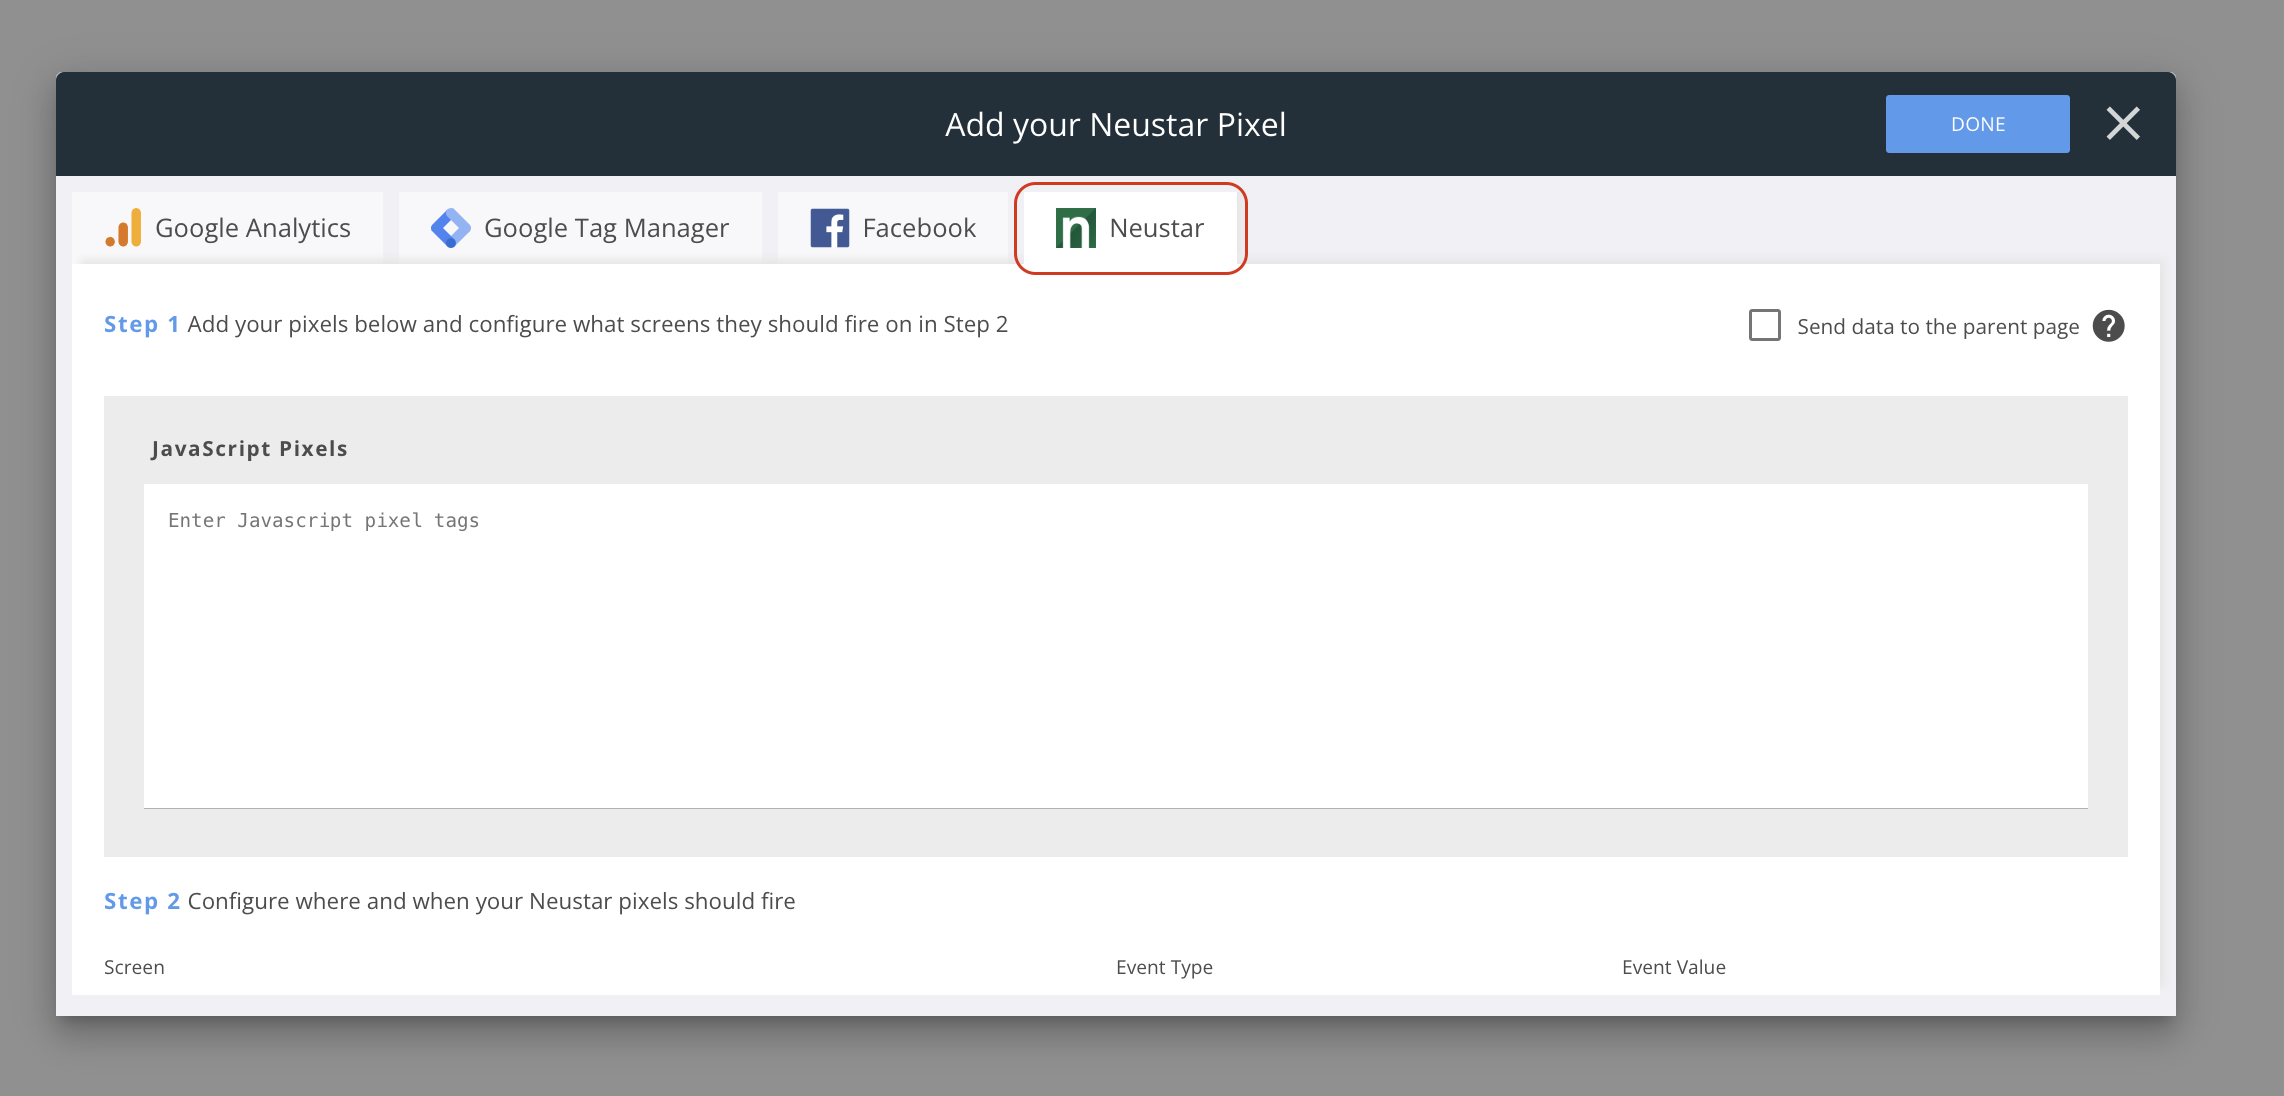
Copy and paste your Neustar initialization script.

Once you paste your initialization script into the large text box you can define your events.

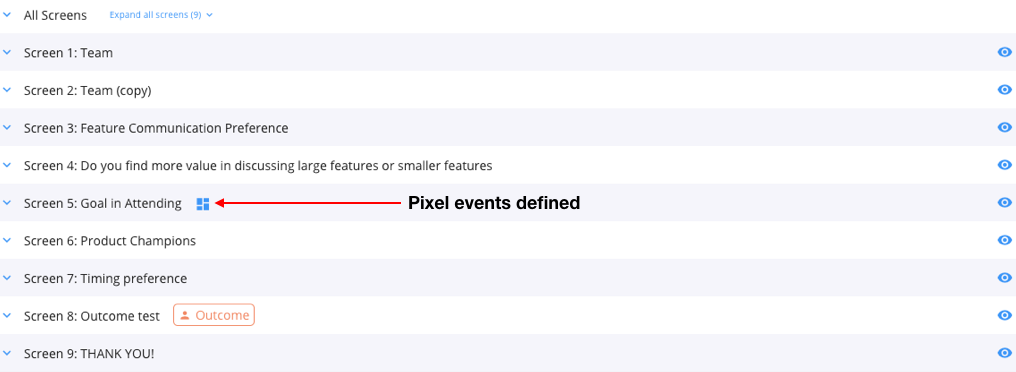
The Neustar pixel UI lets you define events on each individual screen or fire an event across all screens. You can easily view all your events by expanding the table all at once at the top of the modal. If events are already defined you can identify which screens have events based on the pixel icon within the table.
There are two event types On Load (The pixel will fire on the initial load of the screen) and On Response (When a user clicks to progress to the next screen the pixel event will fire) You can define one or both of the event types above on an individual screen.
The data will be passed as a key value pair. The screen name will be the key and the value you define will be the value.
Once your pixels are all set up, you can load your preview launch link URL into the Chrome browser to ensure the pixels are firing properly.
Frequently Asked Questions
Q: When is it best to use an On Response event versus and On Load event?
A: On Response events are typically used to track specific button clicks, which are common for segmenting users. For example, lets say I wanted to create a segment for 'Travel Frequency' and on a screen I was asking 'How often do you travel?'. If the choices were 'never', 'sometimes' and 'often', if a user selects 'often' we would pass that value to the Neustar servers.