
While there are many different types of pixels, implementation in Jebbit is very similar across the board. You will mainly need a container script that goes in the global JS, and individual events that will go on each screen/where desired. In this lesson I’m going to be using GTM, but much of what is shown here will apply to other tags.
Container Scripts
Video Explanation (~3 minutes. 1.5x speed recommended)
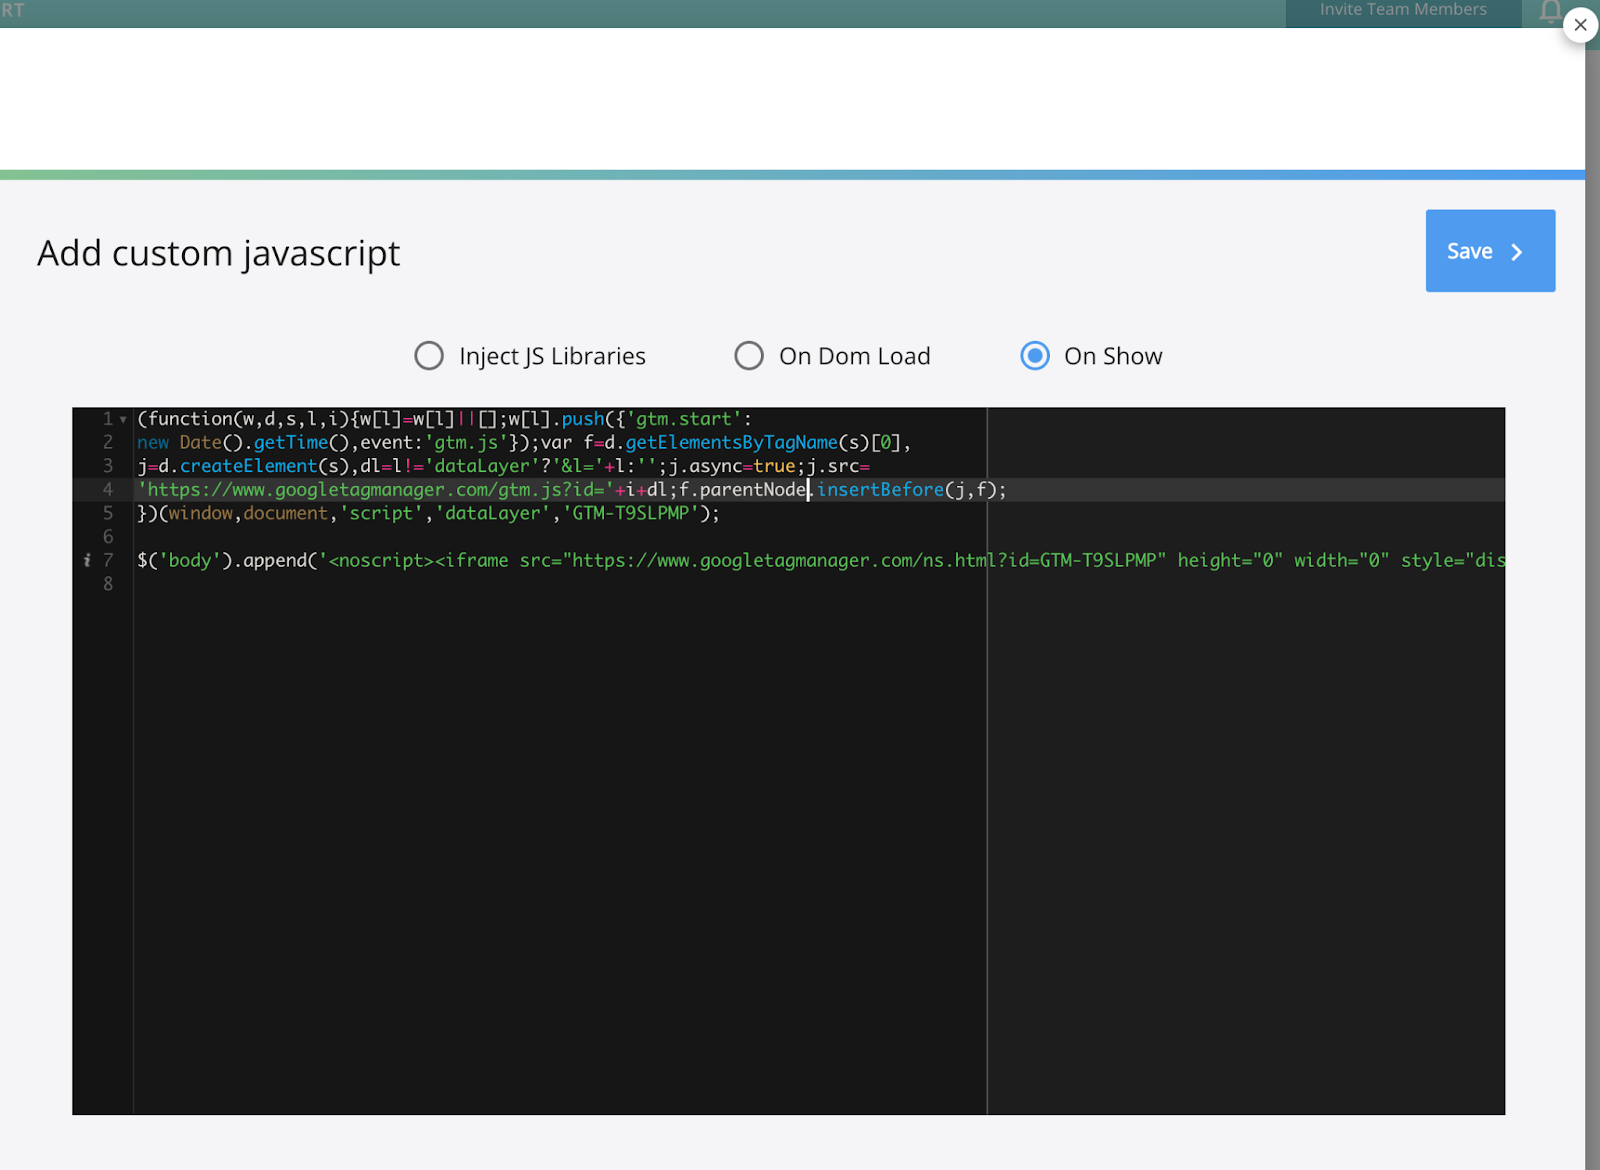
With almost every type of pixel, our first step is going to be adding container scripts. Let’s navigate to the global JavaScript here and select "On Show":
![[video-to-gif output image]](https://usw2.frontkb-cdn.com/attachments/7023564/321/26ffcd58-450f-40e3-afd5-da7613895d34.gif)
...then we can add our container code:

Note that if you’re copying over your container and <script> tags are included, those will not be needed here since we’re working directly with JavaScript in this window. If you need to add any <noscript> tags into the body, you can do so using JS. In line 7 I did this using jQuery:
Simple Event Implementation and Testing
Video Explanation (~4 minutes. 1.5x speed recommended)
Each screen within Jebbit will contain the option for “on show” and “on respond” JavaScript. Let’s consider how we can utilize these for tagging.
If we want an event to fire on load of a screen, we can, of course, place our code on “on show”. If placed “on respond”, the JS will fire upon user response. A response in Jebbit is evaluated as when a user moves onto the next screen. So while you may think of any page interaction as a “response”, Jebbit only considers user progression. If you wanted to track and think of responses in another fashion, you could accomplish this using on show JS. See next lesson for more complex tagging.

Conditional Logic for Dynamic Tagging
Video Explanation (~12 minutes. 1.5x speed recommended)
There are many types of screens one may end up using in a Jebbit experience. The more common examples would be single response, SATA, sliders, and lead capture forms. Writing your logic for dynamic tagging can differ a bit depending on the use case. Below you’ll find sample code/templates to be used when tagging a particular screen type. Otherwise, see video for code demonstrations.
SINGLE RESPONSE:
var response = options.contentPiece.get('value').replace(/(<([^>]+)>)/ig, '');if (response.match(/button a/i)){} else {}SATA:
var trueItems = $('.screen-' + options.contentCollection.id + ' .form-field-wrapper input[type="checkbox"]:checked');for (let i = 0; i < trueItems.length; i++) {
   var formValue = $(trueItems[i]).siblings().text().trim();   if (formValue.match(/checkbox 1/i)) {   }   if (formValue.match(/checkbox 2/i)) {   }
}
SLIDER:
var sliderValue = $('.screen-' + options.contentCollection.id + ' .form-field-wrapper-0 input').val();if(sliderValue > 2){} else {}FORM SUBMISSION:
var response = options.contentPiece.get('value').replace('<p>', '').replace('</p>', '').toLowerCase();if (response === "form"){} else {}