
Jebbit provides you with a number of readily-available screens which can be customized to your preference. This makes building your experiences super easy and quick.
Step by Step Guide
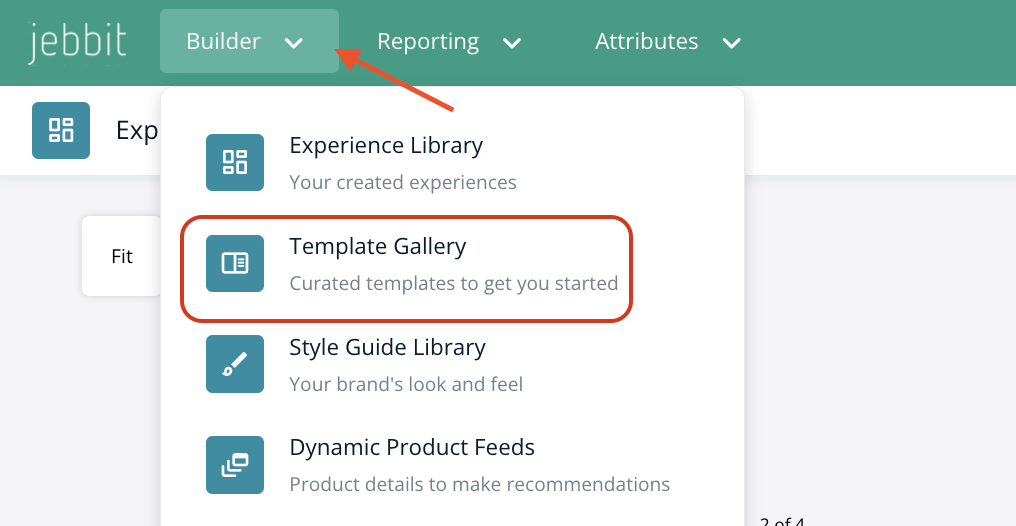
Navigate to the Builder tab on the top nav bar and click on Template Gallery from the Builder dropdown.

From the Template Gallery, select either 'Create Experience' or 'Build it for me.' These buttons are in the upper right corner of the Template Gallery page.

When you choose 'Create Experience' you will first be prompted to select an experience type. The type of experience that you select will change the Screen Template Library options that you see on the following steps.

After you select an Experience Type you will be prompted to give your experience a name and to select a Style Guide for it as well. Fill out all of the information on this prompt, and then you will be brought to the Screen Template Library.
In the Screen Template Library, you can select from a catalog of pre-designed screens. You can always edit these screens further when you add them to your experience.

Browse through the different categories of screens in the Screen Template Library to find screens most relevant to your needs.
Layouts
Simple
Questions
Forms
Gamification
Outcomes & Products
As you click on screens to add to your experience, you will see them populate in a bank on the bottom portion of the screen. If you add a screen by mistake, you can always hover over the screen, and then click on the 'X' icon in the upper right corner to remove the screen from your selections.

When you are done selecting your screens, click on the 'Add' button from the upper right corner of the page, and you will be brought to the Builder Map to continue styling each screen and the overall user flow.
If you choose the 'Build it for me' option then you will first be prompted to select between a Product Match Quiz, Personality Quiz, Trivia, or Survey. From here, AI Assist will guide you through the rest of the process.
Fill in the fields as prompted by the AI Assist tool. Once you do, you will be prompted to give your experience a name and to select a Style Guide for it.
Click on 'Generate Experience' and you will be brought to the Builder Map. You should preview what AI Assist made for you based on your prompts to see what you think. You can continue to make edits on top of what AI Assist has generated for you until the experience is to your liking.
Your Layout Library is something that you can customize and build out over time. As you build screens in Jebbit, you can save them to your Layout Library so that you can add that screen to future experiences that you build more easily.
To add a screen to your Layout Library, hover your mouse over the screen that you want to save, click on the three dots that appear in the upper right corner, and then select 'Save to Library' from the menu that appears.

You will be prompted to specify which Category the screen should be added to, to give your screen layout a name, and to specify whether the image and copy on screen should be included when the screen is added to your Screen Template Library. Usually these last two options are selected.

Click “Done” and your screen will be added to the Screen Template Library.
Frequently Asked Questions
Q: Is it possible to change the layout of a screen?
A: At any point you may want to change the layout on your screen to another layout within your Screen Template Library. You have a few options for doing this.
Within the Screen Editor, select 'Change Layout' in the upper right corner, then select the layout you would like to apply to your screen.
Also within the Screen Editor, you can click on an answer element, and then open the 'Change Response Type dropdown' from the left side menu to update the type of responses on the screen. For example, you can change a Select All That Apply response to a Button response and vice versa.
Within the Builder Map, hover your mouse over the screen that you want to update, select the three dots that appear in the upper right corner, and then select "Change Layout. You will be brought to your Screen Template Library so you can select the new layout that you would like to apply to your screen.
Q: Can I add a screen from one experience to another experience?
A: To add a screen from one experience to another, you will need to save that screen to your Screen Template Library. Once you do, you will be able to hop into the Builder Map for the new experience that you are building, and then add the screen that you just saved to your Screen Template Library into the user flow. See steps 10 - 13 in this guide to walk through the process.