
Before you publish and launch your Jebbit experiences, be sure to update your Social Post Customization! This will allow you to control how your experiences appear when you share them, giving you the opportunity to stay on brand and drive more engagements on social media!
Video Tutorial
Step-by-Step Guide
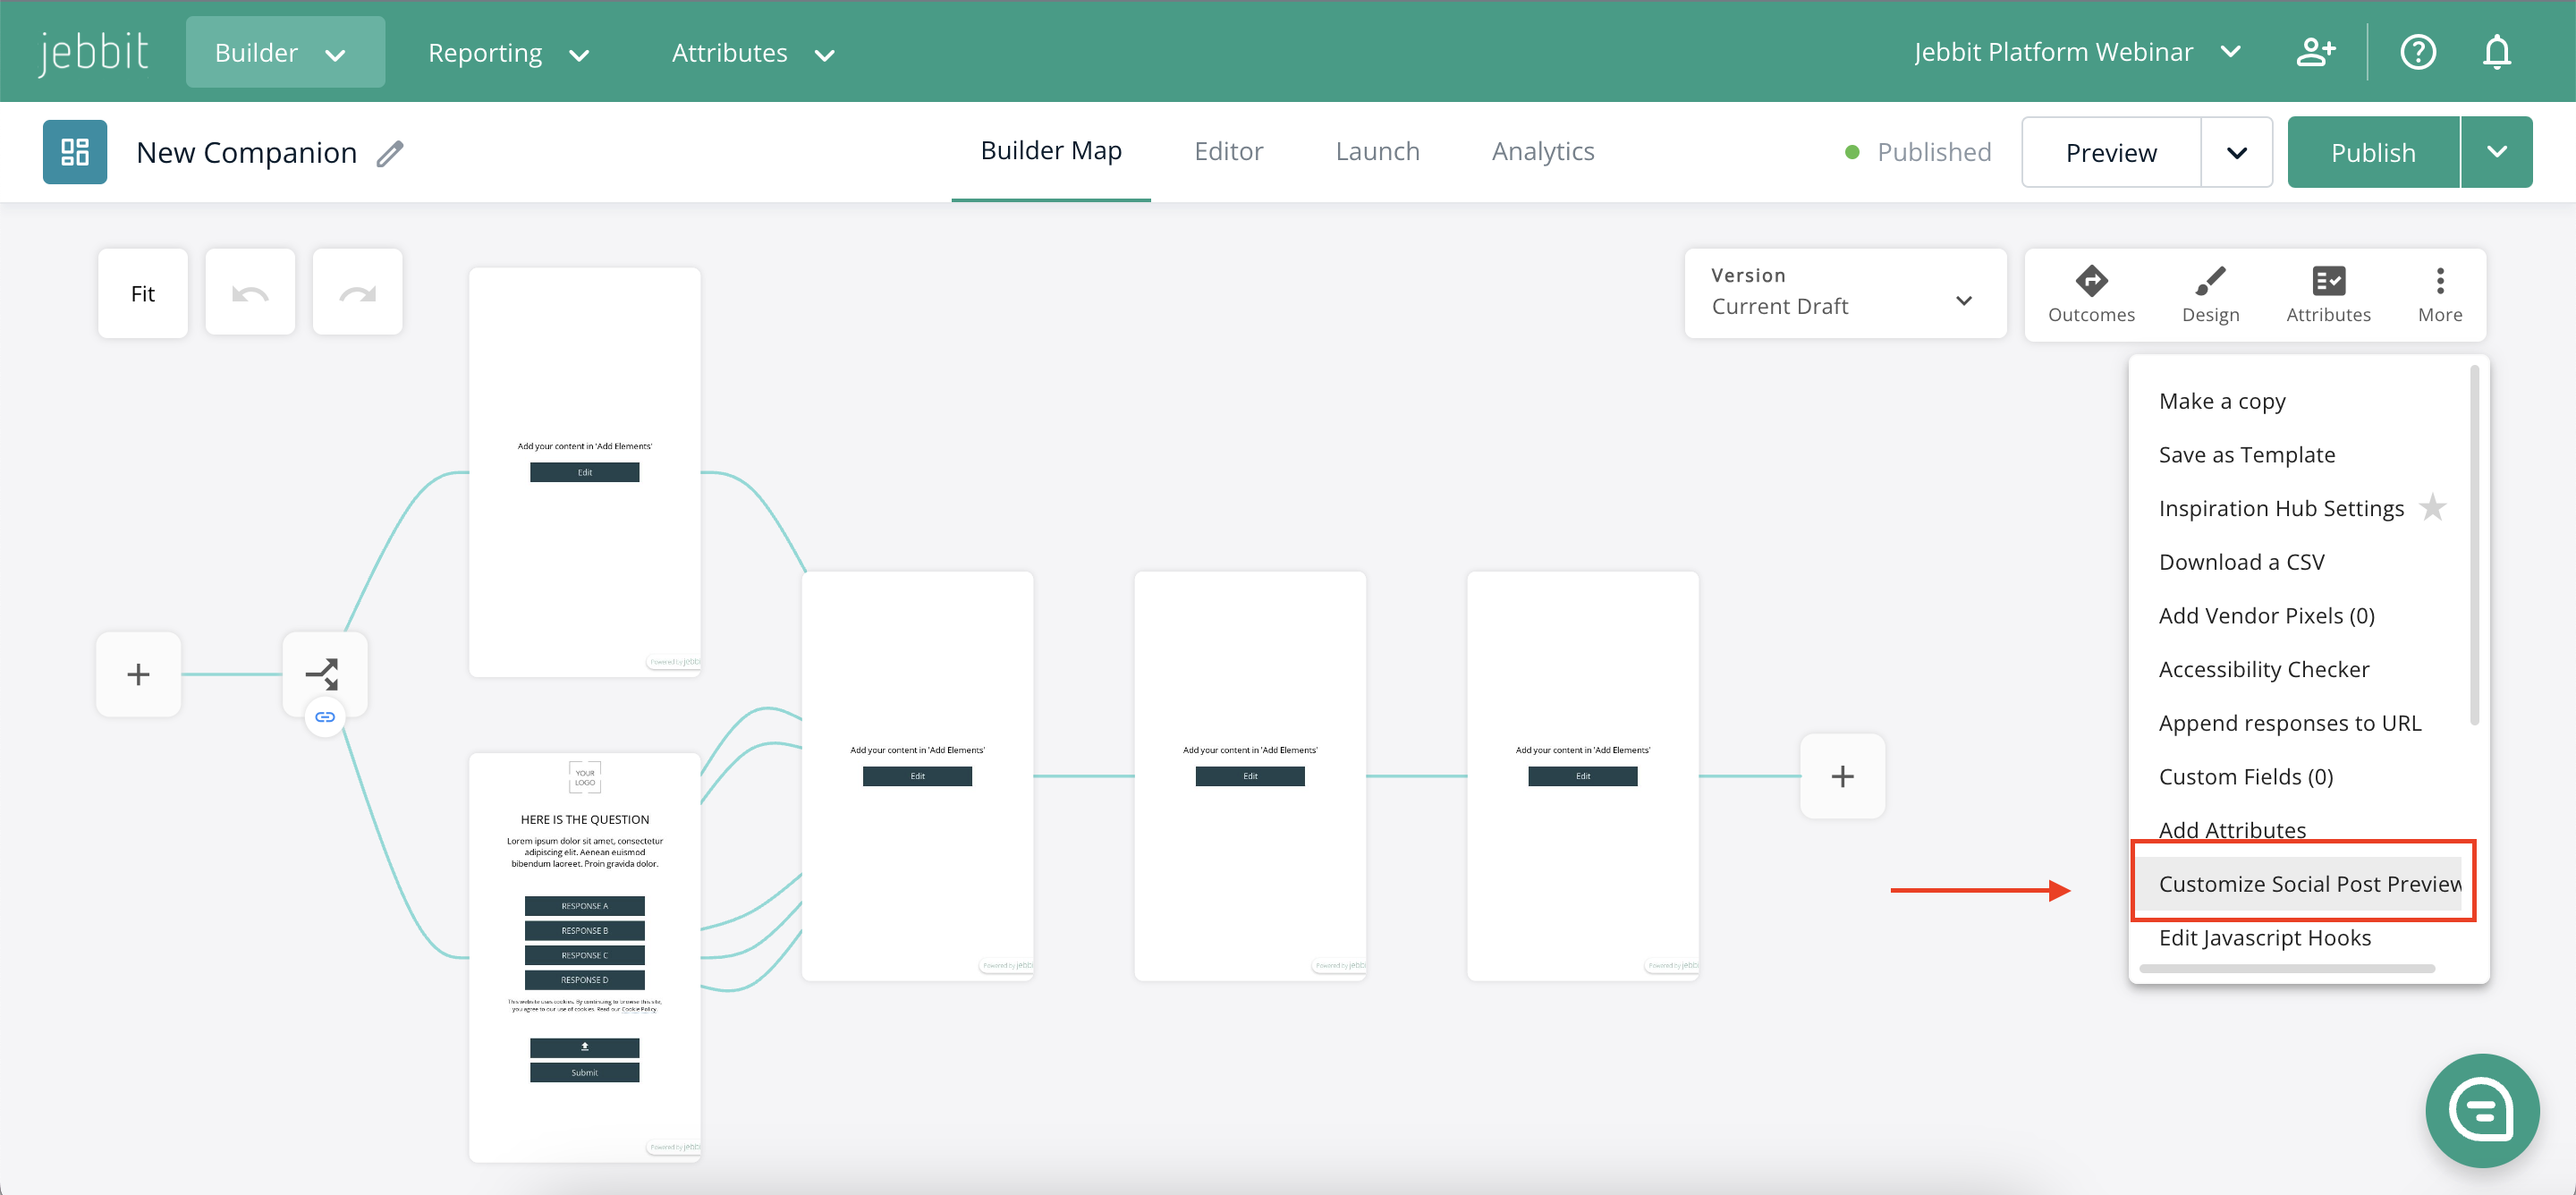
1. From the builder map, click the “More” icon from the navigation menu bar, then click "Social Post Customization" from the dropdown menu that appears.
2. Add the image that users will see when this link is posted/shared, as well as a brief title and description of the experience. Remember to keep this short and sweet.
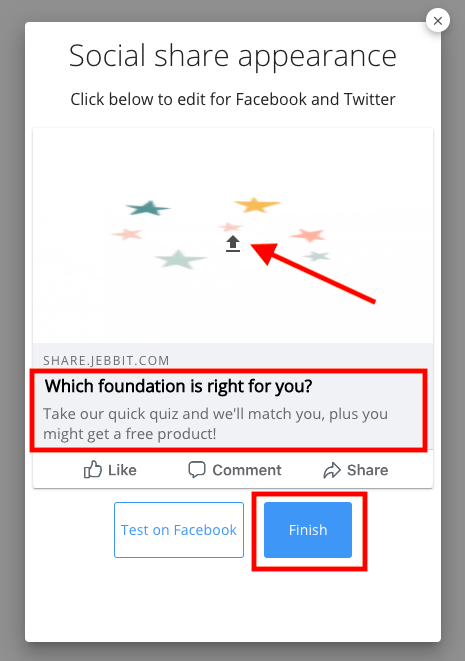
3. When you’re done, click “Finish.”
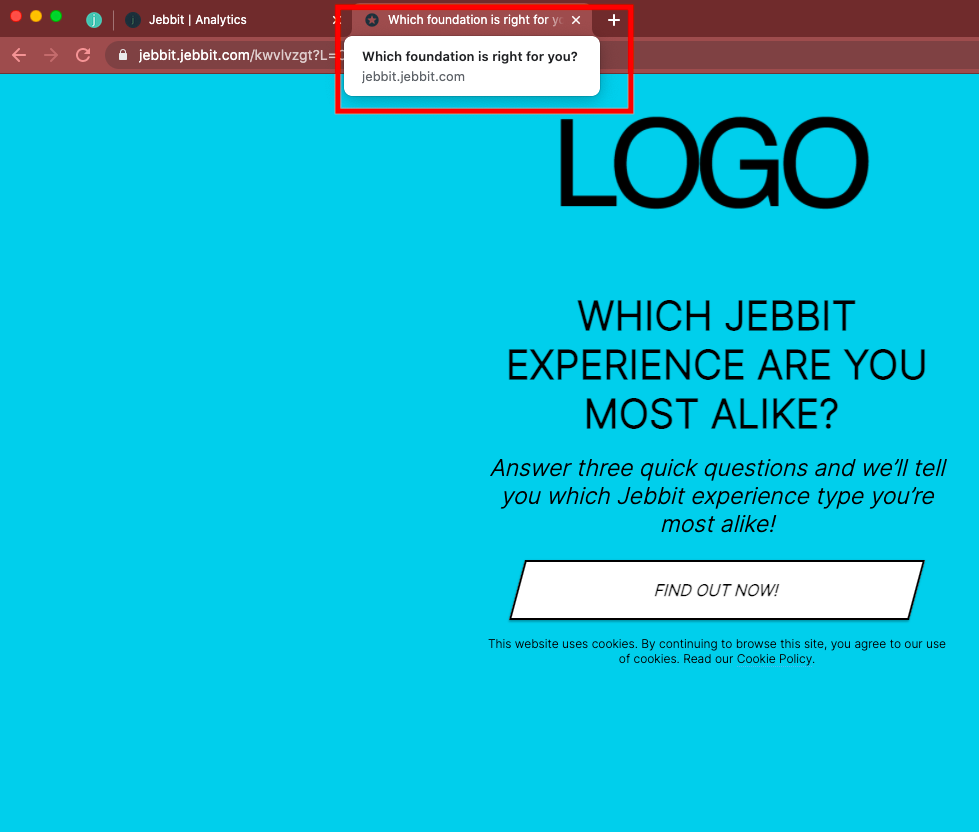
4. Lastly, you should also notice that the text on your browser's tab is also customized after adding Social Post Customization and publishing. See below!
Frequently Asked Questions
Q: What size should my social post image be?
A: For the best visuals, make sure your image is 1200 x 628 pixels.
Q: How can I preview what my social post will look like on Facebook?
A: To see how it will display, click on “Test on Facebook”. That will redirect you to the Facebook Debugger Tool. You can also preview the metadata by loading the preview link in a Facebook post or messenger app.