
If you've added an image to your campaign, chances are you've encountered the Media Library. This is where all of your image and video assets are stored. They can be accessed by any campaign in your brand, and your media library can even be copied to other brands! Read on to learn more about how you can utilize this feature.
Video Tutorial
Step-by-Step Guide
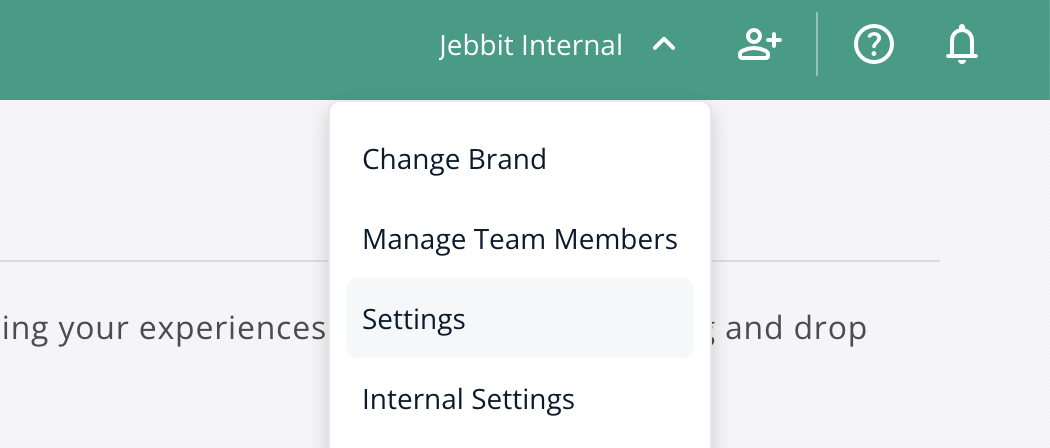
To access the media library, navigate to the Settings menu in the dropdown on the upper righthand corner of your screen. (You can also click "Add Element" from inside the screen view of any screen in your campaign and select Image/Video.)

Click the upload icon, (an upward-facing arrow.) From here you can directly upload as many files as you wish by selecting them individually or dragging an entire folder into the uploader.
If you have multiple brands and wish to copy all of your existing media to another one, you can click "Copy Media to Another Brand" and input the name of the brand you wish to send the files to.
Frequently Asked Questions
Q: Where do my files live?
A: Jebbit stores these images and assigns public URLs to each one!
Q: Can I access the links to my media files?
A: If you need access to your files as a shareable link, you can simply right click any asset in the media library and select "Open Image in a New Tab." This will give you a public link to the file in question.
Q: What can I do with these links?
A: These links can be used as Image URLs in your Dynamic Product Feed. This is especially useful if you do not have product images or other assets stored somewhere on your own servers. You can simply upload all your assets to the Media Library and access each individual URL to populate your Product Feed!